| |
| |
| |
| |
| |
| |
| |
| |
| |
| |
| |
| |
| |
| |
| Home | Contact Us |
Glassblowing
Fire, molten glass, motion and gravity
| Back to Fun Stuff List | |
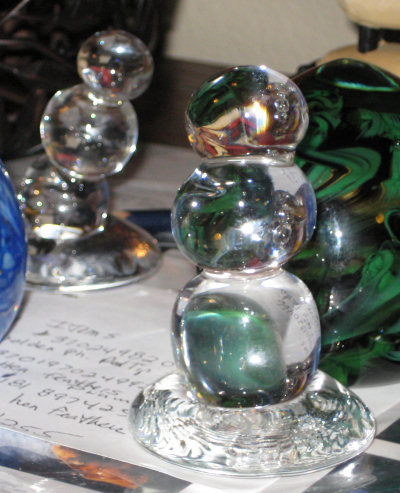 |
Week 1 - Shaping First we learned how to shape the glass and that starts with....snowmen? |
 |
Then we learned paperweights and added some color - a little blue on this one - with a clear layer over it. |
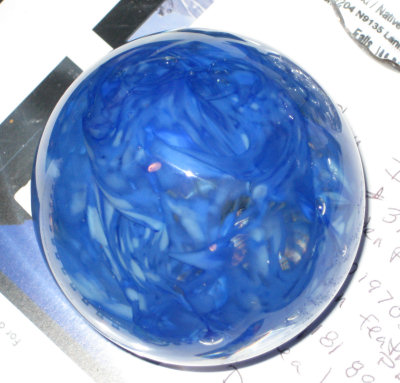 |
Blue from the top - only tiny bubbles in this one. |
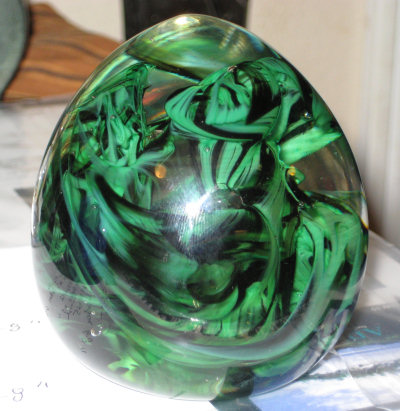 |
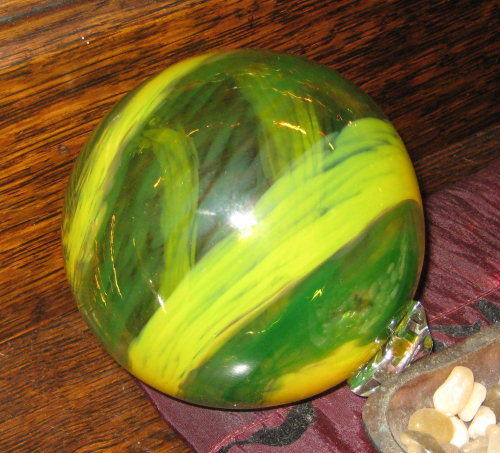
Next was green and black. |
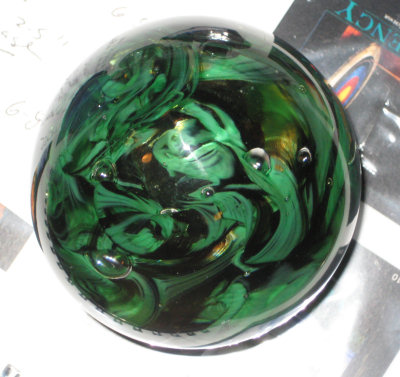 |
A top view. This one has big bubbles in it. |
 |
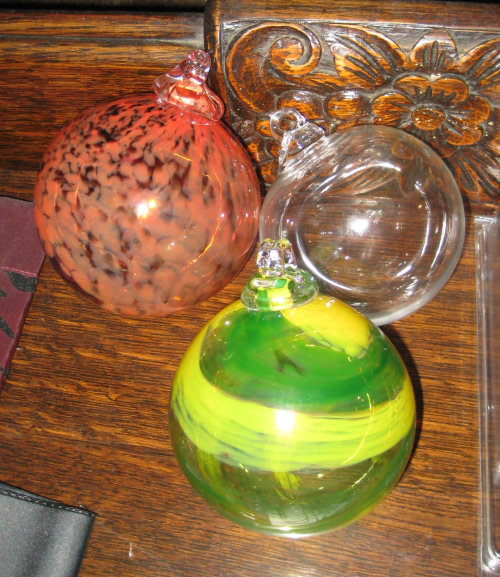
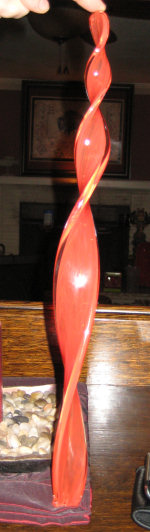
The last project of the session was leaves. Red and yellow in this case. I wish I would have pulled this longer - like warm taffy. Its only about a foot tall and I want them 2 feet tall. I'll have to do a few for the back yard.
This week was learning to blow the first bubble, which is harder than it looks. After that we made floats (those balls everyone has floating in their ponds?). I'll pick them up after class next week when we learn on bowls and cups. |
 |
Week 2 - Blowing Bubbles. First we blow a bubble, then we make a floaty ball. Again and again and again.
|
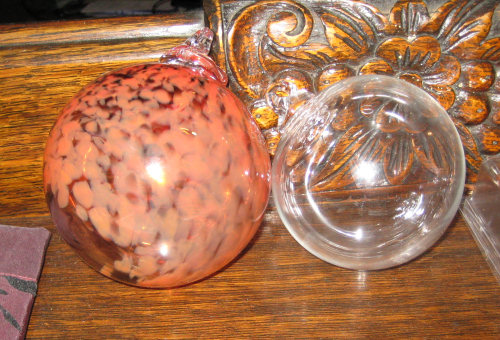 |
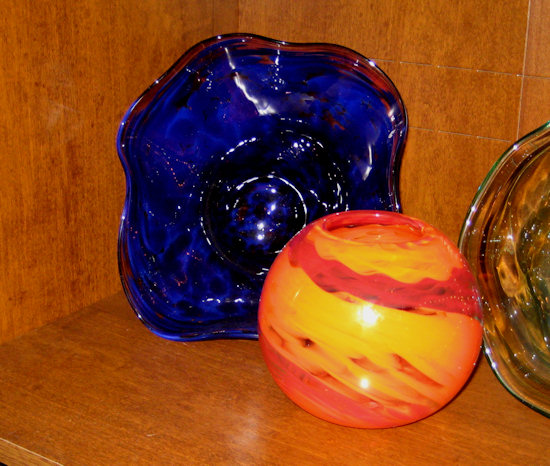
First we blow clear balls. Then we add color. |
 |
More color. |
|
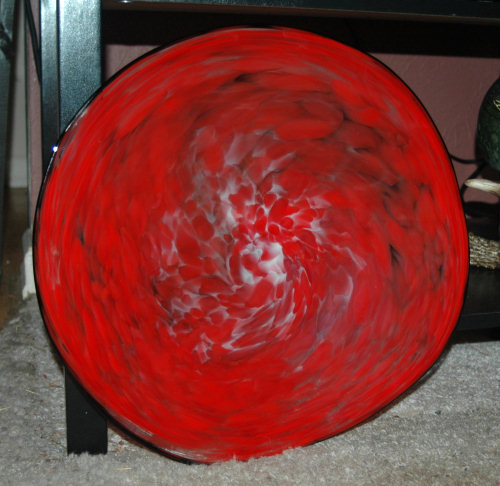
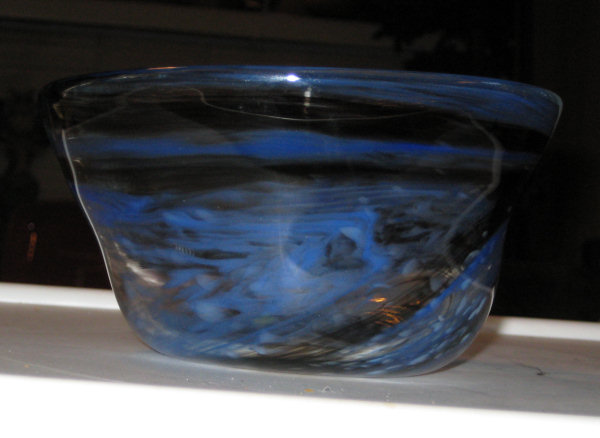
Week 3 - Bowls.
Left over colors twisted to make a cool pattern. |
|
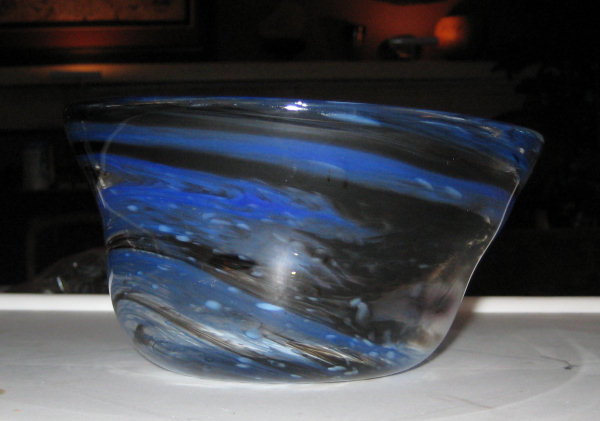
More bowls - first is a color twisting experiment. Its not easy to make the color twist back on itself, but we got it to do it. |
 |
The spot where we turned the glass back on itself got all funky looking - like storm clouds. |
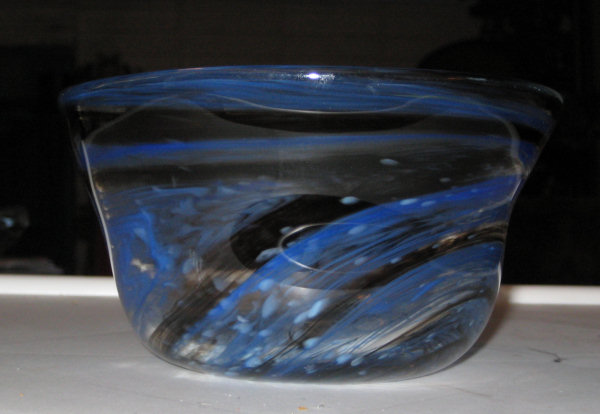 |
The white glass flecks in the glass show up in unpredictable places. |
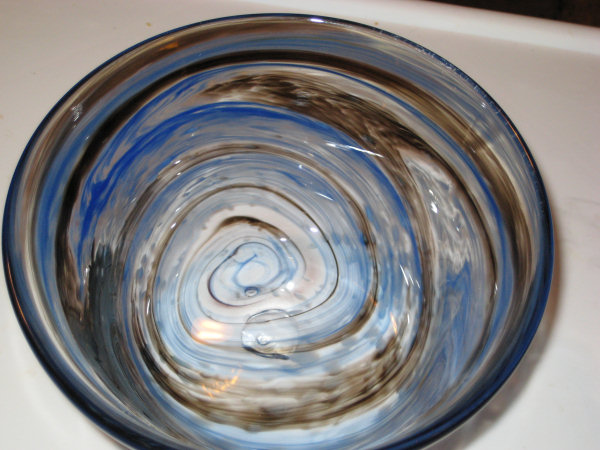 |
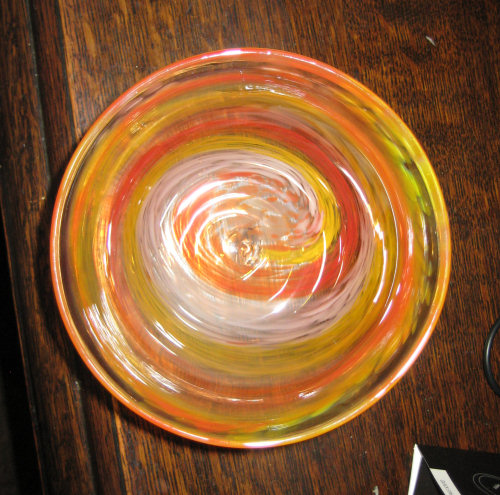
Its easier to see the pattern from the top. |
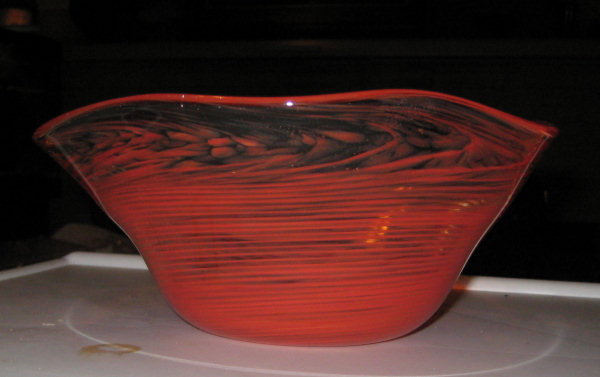 |
Here is a fluted bowl 'gone wrong'. |
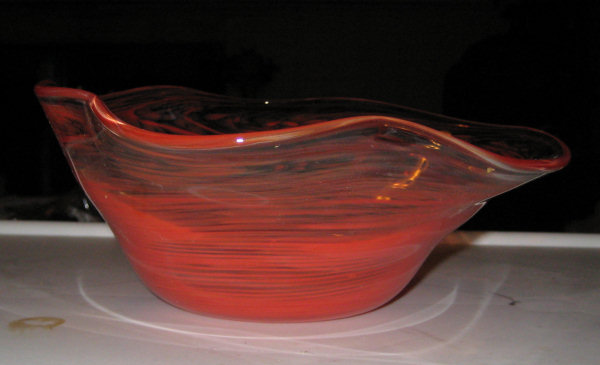 |
The waved edge didn't fan out evenly, so it looks funny from the side. Its ok that way, as its now more of an art type standing bowl. |
 |
We'll put this one o a stand to make spiral easier to see.. |
|
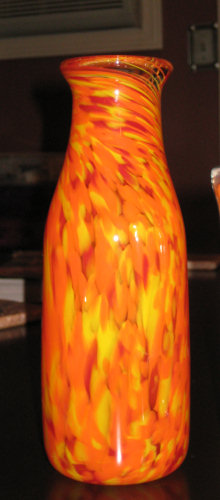
Class 4 - Vases and Cylinders |
|
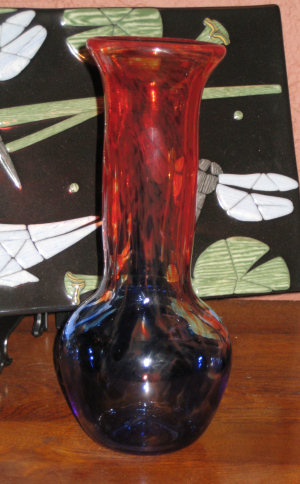
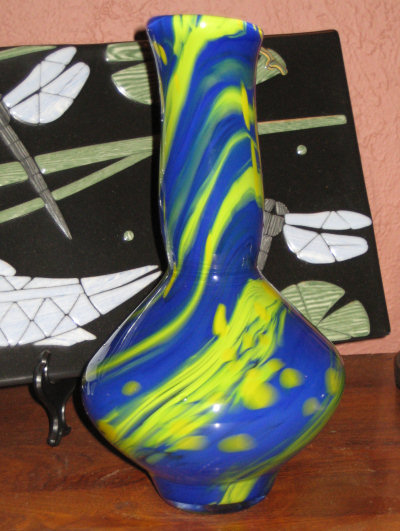
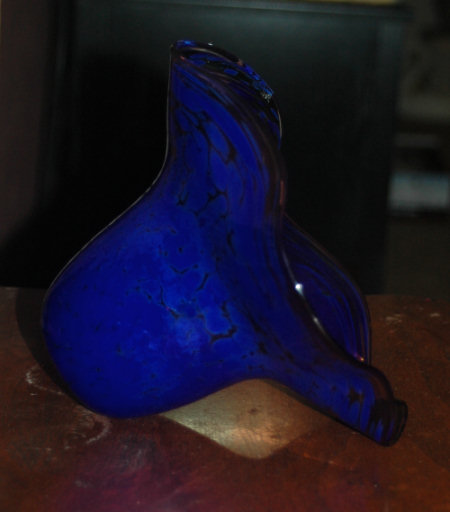
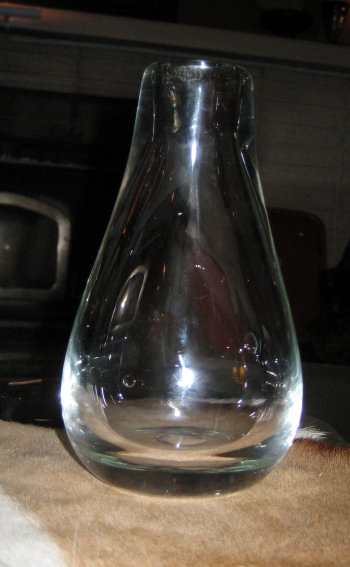
Class 5 - Advanced Shapes. Genie bottles |
|
Flat sided vase |
 |
Class 6a -
|
|
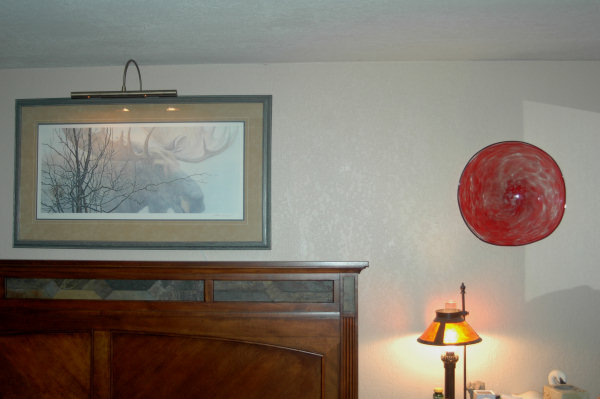
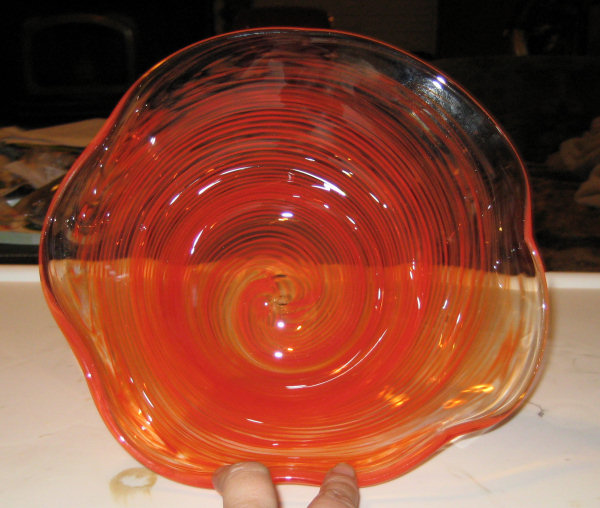
Class 6b - Red platter for the bedroom wall, red vase and green leaf for the yard. The green leaf is 3' tall. The platter is 17" wide. |
|
Platter in the bedroom |
  |
Class 7 - My first piece done without any assistance (the instructor was working with other students).
Transparent Glass this week - red leaf with tons of red transparent. |
|
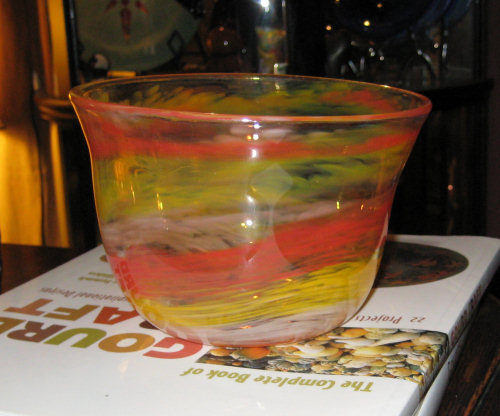
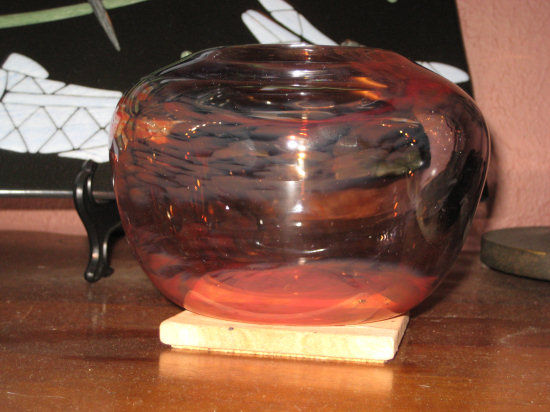
Red short bowl w/blue flecks.
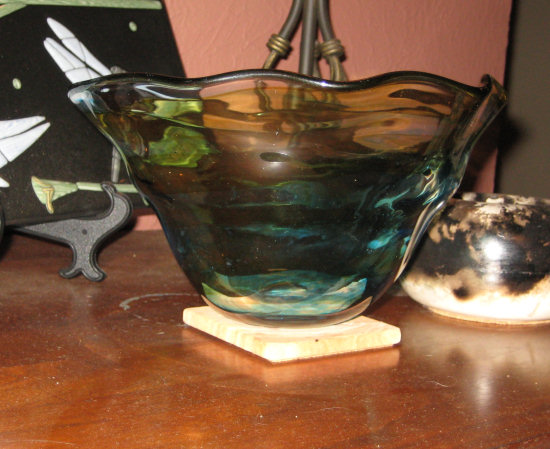
Aqua blue bowl with amber wrap. |
|
Week 8: Handles (which means cups)
Green Cup
Blue Cup
|
 |
Also a votive bowl with transparent teal and amber. |
|
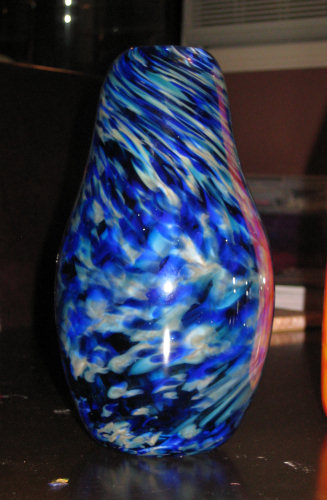
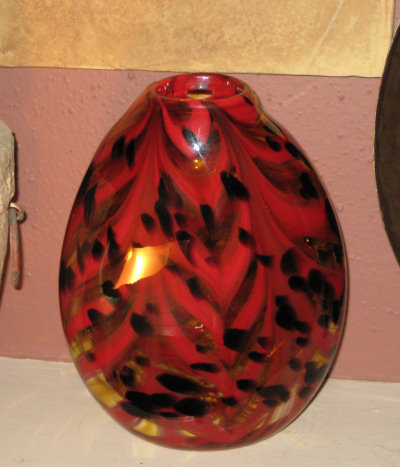
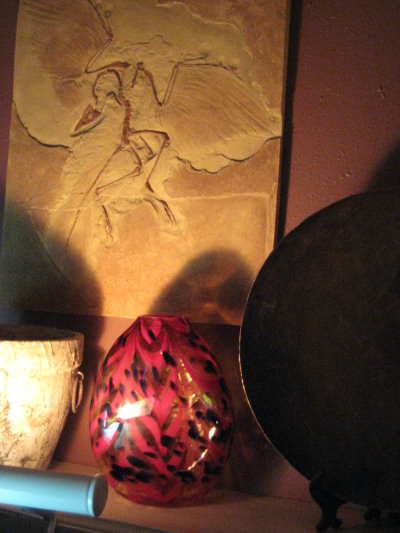
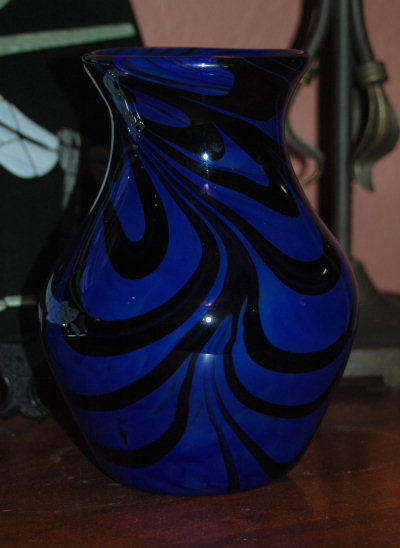
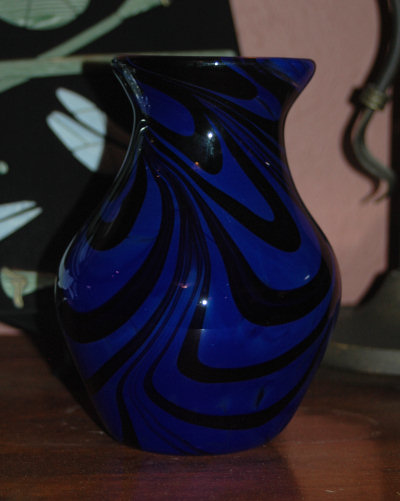
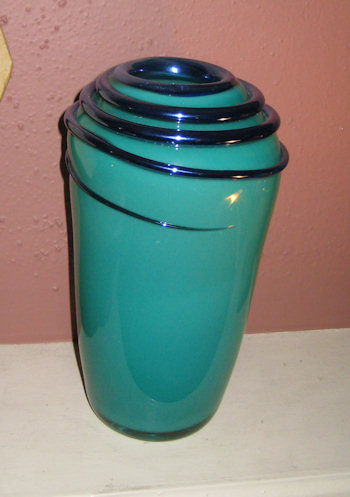
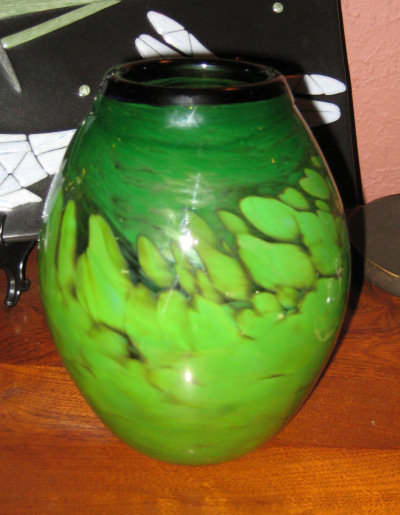
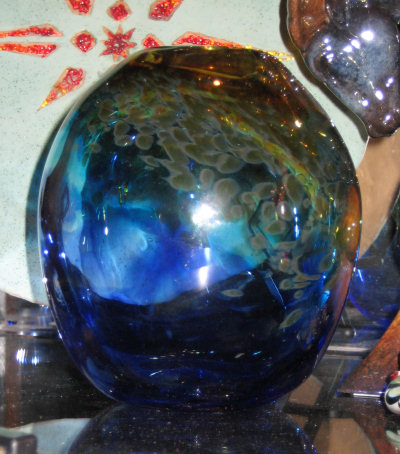
Week 9: Color - a vase with a twisted version of the feather effect.
The color combination on this was an experiment and we love how it turned out.
The other side of the vase. I know, it sorta looks the same on each side.
|
|
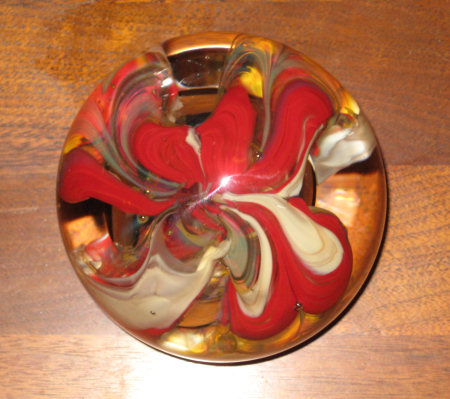
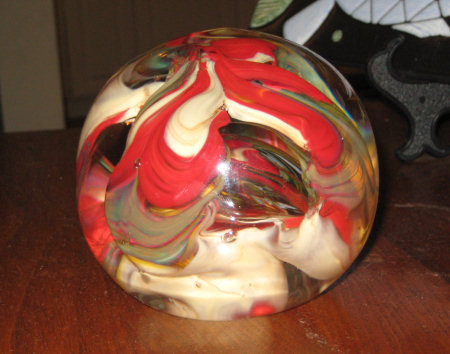
My first 'sculpture' in a paper weight, which is pretty hard, actually. This is a process of adding color, cutting it into arms, then using heat and tweezers to tug, yank on, swear, heat, pull, swear some more, heat again, sigh and pull on the arms until they meet at the top. That's the hard part - the making a glass cage and getting it meet at the top and not look lopsided (like mine does). Then you dip it in clear glass and try to capture a big bubble. This was going to be a gift, but its sort of ugly and was really hard to do, so I'm keeping this one to study and improve upon. |
|
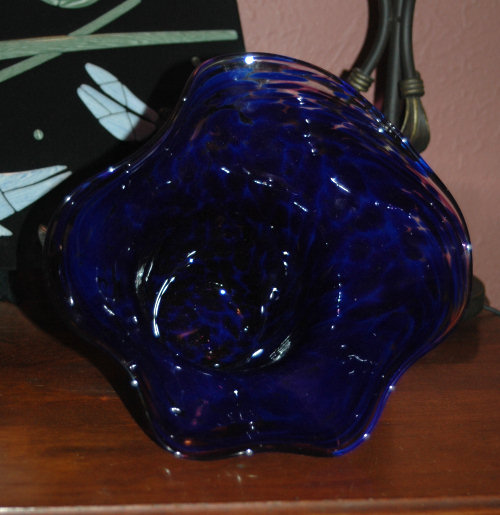
Fluted Bowl from the side.
This does not stand up on its own, so it will lay tipped over like this.
Front of bowl
|
 |
Fluted Bowl with Orange/Red bowl addition. |
|
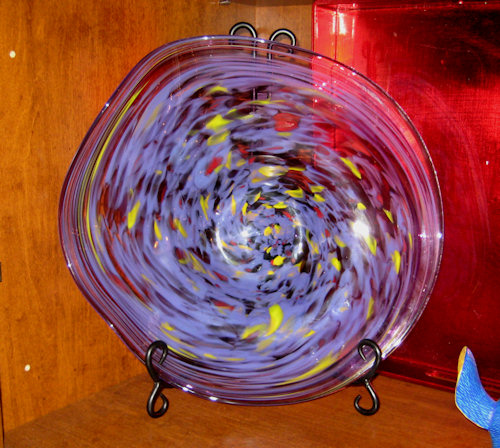
Plate for the bedroom wall - transparent lavender with opaic lavender and color speckles. |
|
Solid color added with a rod. Lip wrap gone wild ina blue luster. |
|
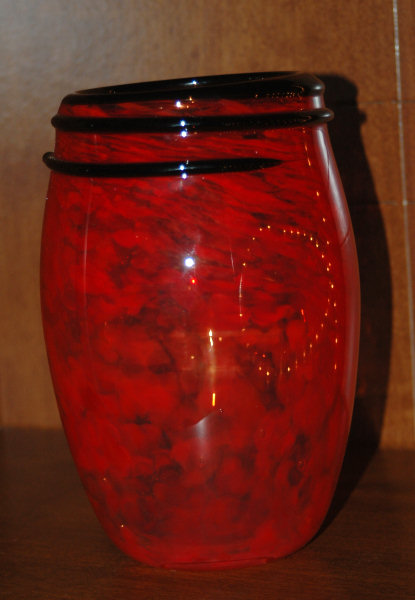
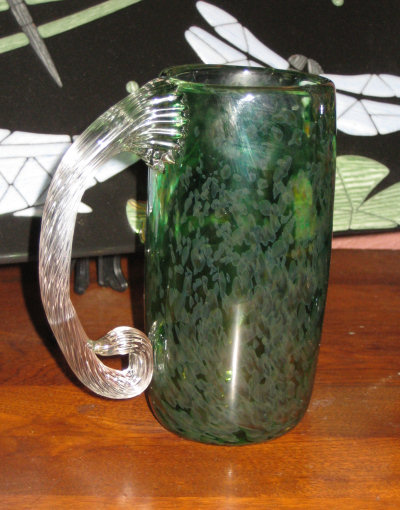
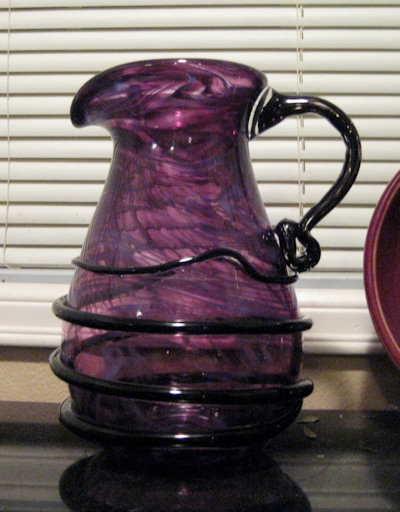
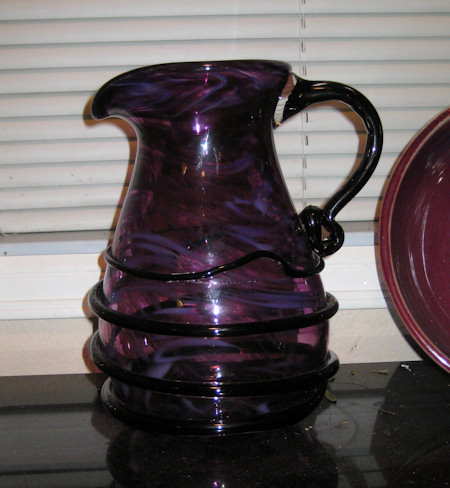
Big Purple Pitcher - mostly transparent with opaic flecks and black wrapping. This thing weighs a ton! |
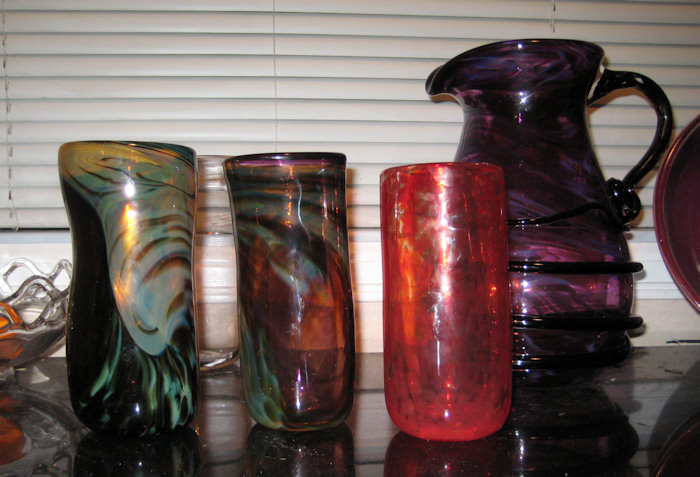 |
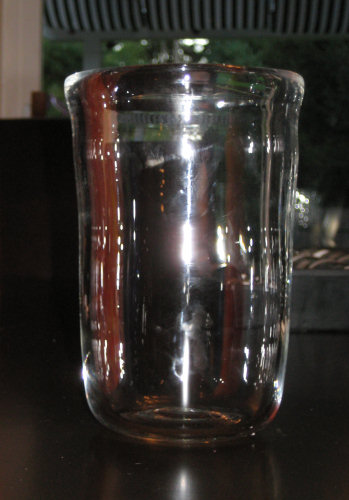
Wonky shaped glasses. It turns out that cylindars are harder to make than you'd think. |
COPYRIGHT © PILUZO 2008 , ALL RIGHTS RESERVED |